Sowing the Seeds of Love
Start your own weed garden.
Dreaming of a cannabis jungle on your terrace but not sure where to start? Don’t worry— you don’t need a green thumb or a grower’s degree to make it happen. With a patch of sunlight and some simple know-how, your balcony can become a thriving little garden.
There’s something magical about lighting up buds you’ve grown yourself— from tiny seedlings to lush, fragrant flowers. Watching them grow and harvesting them is pure satisfaction.
So go ahead—roll up your sleeves, soak up some sun, and let’s get growing.
THE ABCs OF GROWING YOUR GARDEN
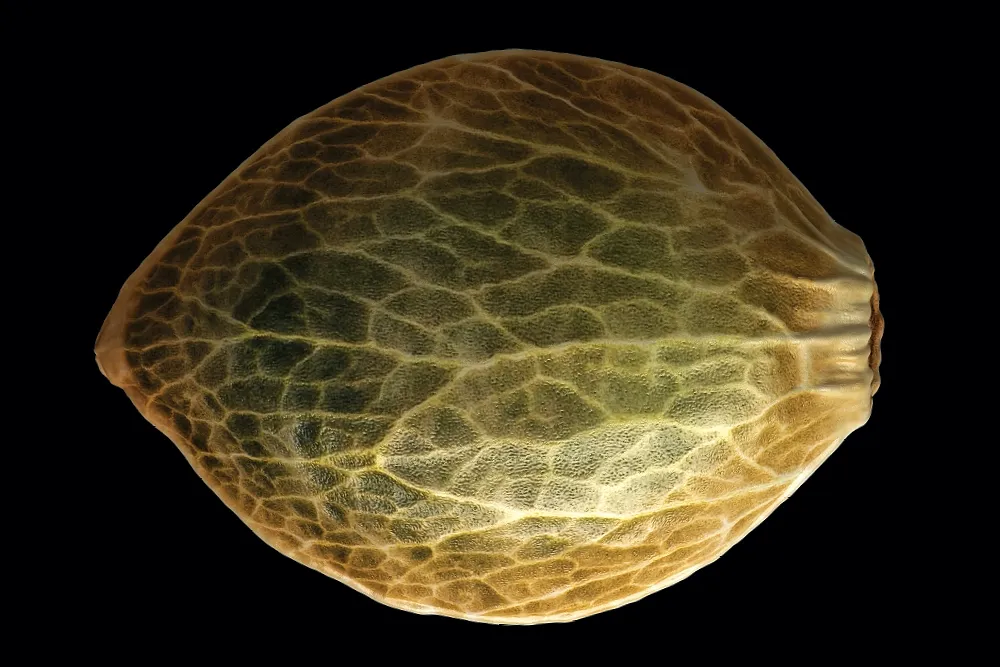
START STRONG: GERMINATE WITH CARE
Place your seeds on a moist paper towel and seal them inside a plastic bag. Leave the bag in a warm, sunny spot for a few days until a taproot emerges. The taproot is extremely delicate, so consider using tweezers to handle and transplant the sprouted seed.
Seeds are easy to source and come in a wide variety of strains. For home growers, Autoflowering Feminized Seeds are a great starting point—they’re already fertilized and don’t require a male plant. Only the female plants produce buds. Autoflowering plants are especially beginner-friendly because they grow quickly (typically 8–12 weeks) and start budding automatically after a set period, without needing 12 hours of darkness each day.
This differs from regular seeds, which require a strict light cycle of 12 hours on and 12 hours off. Even ambient light from street lamps can disrupt their budding process—something that’s tough to control if you’re growing outdoors in the city. Unfortunately, with light leaks, it’s possible to grow a six-foot plant that never buds!
CHOOSE THE RIGHT SOIL AND POT
Once a small root (the taproot) emerges from the seed, it’s go-time.
Fill a 3- or 5-gallon pot with a light, airy, well-draining, organic potting mix (ideally balanced for cannabis, but soil for fruits and veggies works too) that contains just enough nutrients to support early growth without overwhelming your plant.
Gently poke a small hole in the soil and place the seed inside, taproot facing down. Lightly cover it with soil— no need to press it down. It’s best to plant them directly into their final pot to avoid transplant shock.
THE RIGHT BALANCE OF LIGHT
Autoflowering cannabis thrives with 18 hours of light per day, ideally a mix of direct and indirect sunlight, throughout its entire life cycle for optimal flower production. While autos don’t require darkness to trigger flowering, up to 6 hours of darkness daily allows the plant to rest and focus energy on root development and internal processes.
South-facing balconies or terraces provide the most consistent light. If you’re growing in less-than-ideal sunlight conditions, or you need to grow covertly, consider supplementing with a grow light to enhance results.
WATERING SCHEDULE
Filtered or distilled water is best, but if you use tap water, let it sit for 24 hours to allow the chlorine to evaporate.
Seedling Stage (Weeks 1–2) Lightly mist or pour water around the seedling every 2–3 days, or when the top 1–2 inches of soil feels dry. Avoid overwatering—autos don’t like soggy roots.
Vegetative Stage (Weeks 3–5) Water deeply only when the top inch of soil is dry. Continue until a small amount drains from the bottom.
Flowering Stage (Weeks 5–10+) Stick to watering when the soil is dry. Avoid overwatering to prevent mold and nutrient issues. Lower humidity and keep water off the buds.
HOW TO FERTILIZE
Autoflowering cannabis has a short 8–12 week life cycle and typically requires fewer nutrients than regular seed plants. Overfeeding can lead to stunted growth or nutrient burn, so it’s best to start light—using just a quarter of the recommended fertilizer dose. Always choose a formula balanced specifically for cannabis, as some fertilizers can actually harm or “poison” the plant and make the cannabis dangerous to smoke.
Weeks 2–3 (Early Veg): Start with a gentle, nitrogen-rich formula.
Weeks 4–5 (Pre-Flower): Switch to a bloom formula higher in phosphorus and potassium.
Weeks 5+ (Flowering): Use a low-nitrogen, high-phosphorus/potassium blend to support bud development.
ORGANIC PEST CONTROL
Ladybugs are natural allies for cannabis growers—especially in organic or outdoor setups—because their larvae and adults feed on common pests like aphids, spider mites, whiteflies, mealybugs, and scale insects, helping protect plants without the need for chemicals.
WHEN TO PRUNE
Wait until week 3–4 (early veg stage) before pruning. Only begin once the plant has at least 4–5 nodes (sets of leaves), and avoid pruning after flowering begins.
Snip off small, shaded branches near the base that won’t get much light. This redirects energy to the top buds (the “colas”). Trim any dead or dying leaves to improve airflow and reduce the risk of pests or mold.
Prune a little at a time—never remove more than 20% of the plant in one session. Autoflowering plants grow quickly and don’t recover well from heavy stress, so keep your pruning light and purposeful.
Autoflowering plants are especially beginner-friendly because they grow quickly (typically 8–12 weeks) and start budding automatically after a set period.
WHEN TO HARVEST
Most autos are ready 8–12 weeks from seed, but that can vary by strain. Don’t rely on breeder estimates alone—use visual cues.
Use a jeweler’s loupe or microscope to inspect the trichomes (resin crystals) on buds:
Clear trichomes = too early
Cloudy/milky = peak THC levels
Amber = more relaxing, body-heavy effect
The best time to harvest is when most trichomes are cloudy, with 10–30% amber depending on your desired effect.
Also pay attention to the pistils (hairs); when 70–90% of pistils have darkened and curled in, your plant is likely ready. If most pistils are still white and sticking out, wait a bit longer.
Stop feeding nutrients and switch to plain water for the last 7–10 days. This helps remove excess salts and improves the smoothness and flavor of your final product.
Pro Tip: Patience pays off. Harvesting too early results in less potent, harsher buds, so trust your trichomes, not the calendar.
CUT, TRIM, AND DRY
Cut the plant at the base or harvest it branch by branch. Remove the large leaves, then carefully trim the smaller leaves. Hang the buds upside down or place the branches on a drying tray in a dark, cool space (60–70°F with 50–60% relative humidity). Let them dry slowly for 7–14 days.

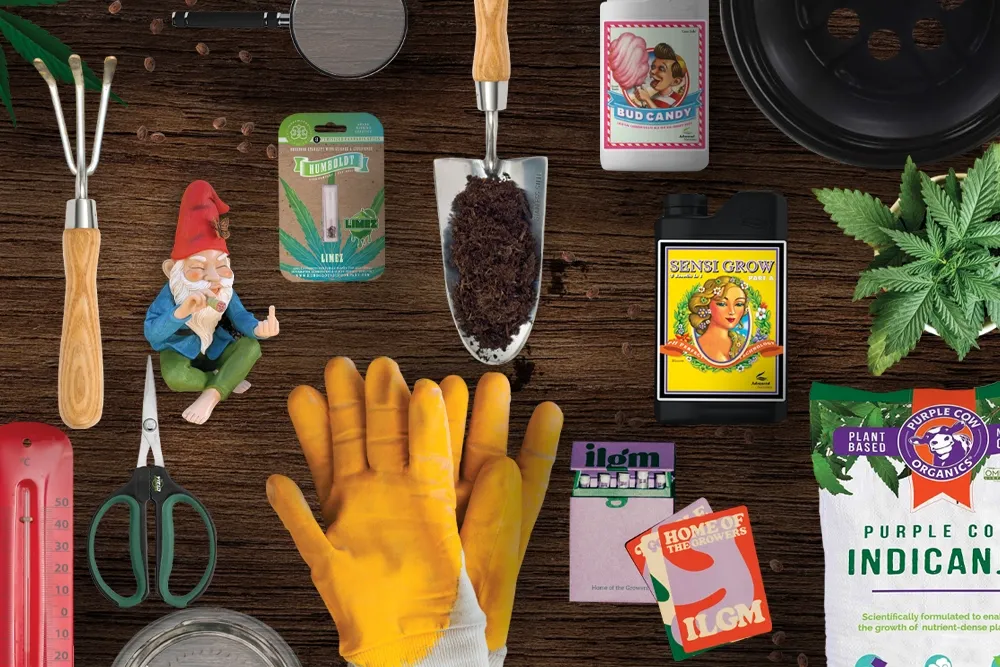
Cannabis Gardening Essentials
SEEDS
ILGM’s cannabis seeds are a solid choice for both beginners and experienced growers. With resilient genetics and a wide variety of strains, they make home growing easy and rewarding. Since 2012, ILGM has built a reputation for being reliable, efficient, and user-friendly—selling over 30 million seeds to date.
ILGM announces the ILGM Grow Club—a comprehensive, community-driven platform for home growers, offering educational and social events. The pilot program launches in Los Angeles, with plans to expand to New York City, Chicago, San Diego, and online. ILGM.com
Another reliable option is Humboldt Seed Co. A trusted source of world-class cannabis genetics and offering a wide portfolio of strains. HumboldtSeedCompany.com
CLONES
Clones are cuttings taken from a mature “mother” cannabis plant, creating an exact genetic copy. They’re ideal for growers who want to skip the germination process and start with a proven plant.
The Artist Tree in West Hollywood features a state-of-the-art clone nursery and offers an all-in-one grow kit with everything you need to start your cannabis garden. TheArtistTree.com
SOIL
Good soil is a mixture of organic matter, clay, and rock particles. Cannabis plants thrive in soil that’s rich in organic content. The gold standard is loamy soil—a well-balanced blend of sand, silt, and clay that provides excellent drainage, aeration, and nutrient retention.
Purple Cow Organics IndiCanja offers soil mixes that come “pre-tuned” with nutrients, beneficial microbes, and balanced pH—eliminating much of the guesswork for growers. PurpleCowOrganics.com
NUTRIENTS
For over 26 years, Advanced Nutrients has been providing cost-effective solutions to grow bigger, healthier buds. Their pH Perfect® Sensi Grow is a two-part base nutrient formulated to support a strong and productive vegetative phase.
To further boost your plants, try Bud Candy®—a premium blend of carbohydrates and magnesium designed to enhance floral growth, sweetness, and aroma. Advanced Nutrients also offers a complete starter kit for the beginning grower. AdvancedNutrients.com
PRUNING SHEARS
For harvest, you’ll need a good pair of clippers. Look for ones that reduce hand strain, offer a precise cut, feature a professional design and are built to last.
The Yieldcropper Bonsai is designed with a 60mm blade to reach tight spots with ease—perfect for trimming dense buds and delicate areas. YieldCropper.com
DRYING TRAY
It takes a lot of work to harvest cannabis, so you’ll want to maximize your yield. Drying trays help maintain a steady temperature and promote even drying, ensuring consistent quality from bud to bud.
Crafted from electropolished stainless steel, Harvest Supply’s custom trays are both innovative and hygienic— designed to prevent product residue and eliminate the risk of cross-contamination. HarvestSCI.ca
MAGNIFYING GLASS
A magnifying glass is essential for inspecting trichomes and determining the ideal time to harvest. This ensures your plant’s bounty is collected at peak potency.
The Big W’s Desk Light Magnifier Lamp is not only a functional tool but also a work of art. It zooms in on your buds like no other—so you’ll never be too early or too late with your harvest. Plus, it’s great for spotting pests before they do damage. BigW.com
DID YOU KNOW?
Under California’s adult-use cannabis laws, recreational users can grow up to six mature plants per household.